 People don’t wander around the world aimlessly; most everything they
do – from watching TV, to intent, behind it.
People don’t wander around the world aimlessly; most everything they
do – from watching TV, to intent, behind it. shopping, to coding the next killer app – has some sort of purpose, or
Android works in much the same way. Before an app can perform an action, it needs to know what that action’s purpose, or intent, is in-order to carry out that action properly.
It turns out humans and Android aren’t so different after all. :]
In this intents tutorial, you are going to harness the power of Intents to create your very own meme generator. Along the way, you’ll learn the following:
- What an
Intentis and what its wider role is within Android. - How you can use an
Intentto create and retrieve content from other apps for use in your own. - How to receive or respond to an
Intentsent by another app.
Get your best meme face ready. This tutorial is about to increase your Android Developer Level to over 9000!!! :]
Getting Started
Begin by downloading the starter project for this tutorial.Inside, you will find the XML Layouts and associated Activities containing some boilerplate code for the app, along with a helper class to resize
Bitmaps, and some resources such as Drawables and Strings that you’ll use later on in this tutorial.If you already have Android Studio open, click File\Import Project and select the top-level project folder you just downloaded. If not, start up Android Studio and select Open an existing Android Studio project from the welcome screen, again choosing the top-level project folder for the starter project you just downloaded.
Take some time to familiarize yourself with the project before you carry on.
TakePictureActivity contains an ImageView which you can tap to take a picture using your device’s camera. When you tap LETS MEMEIFY!, you’ll pass the file path of the bitmap in the ImageView to EnterTextActivity, which is where the real fun begins, as you can enter your meme text to turn your photo into the next viral meme!Creating Your First Intent
Build and run. You should see the following: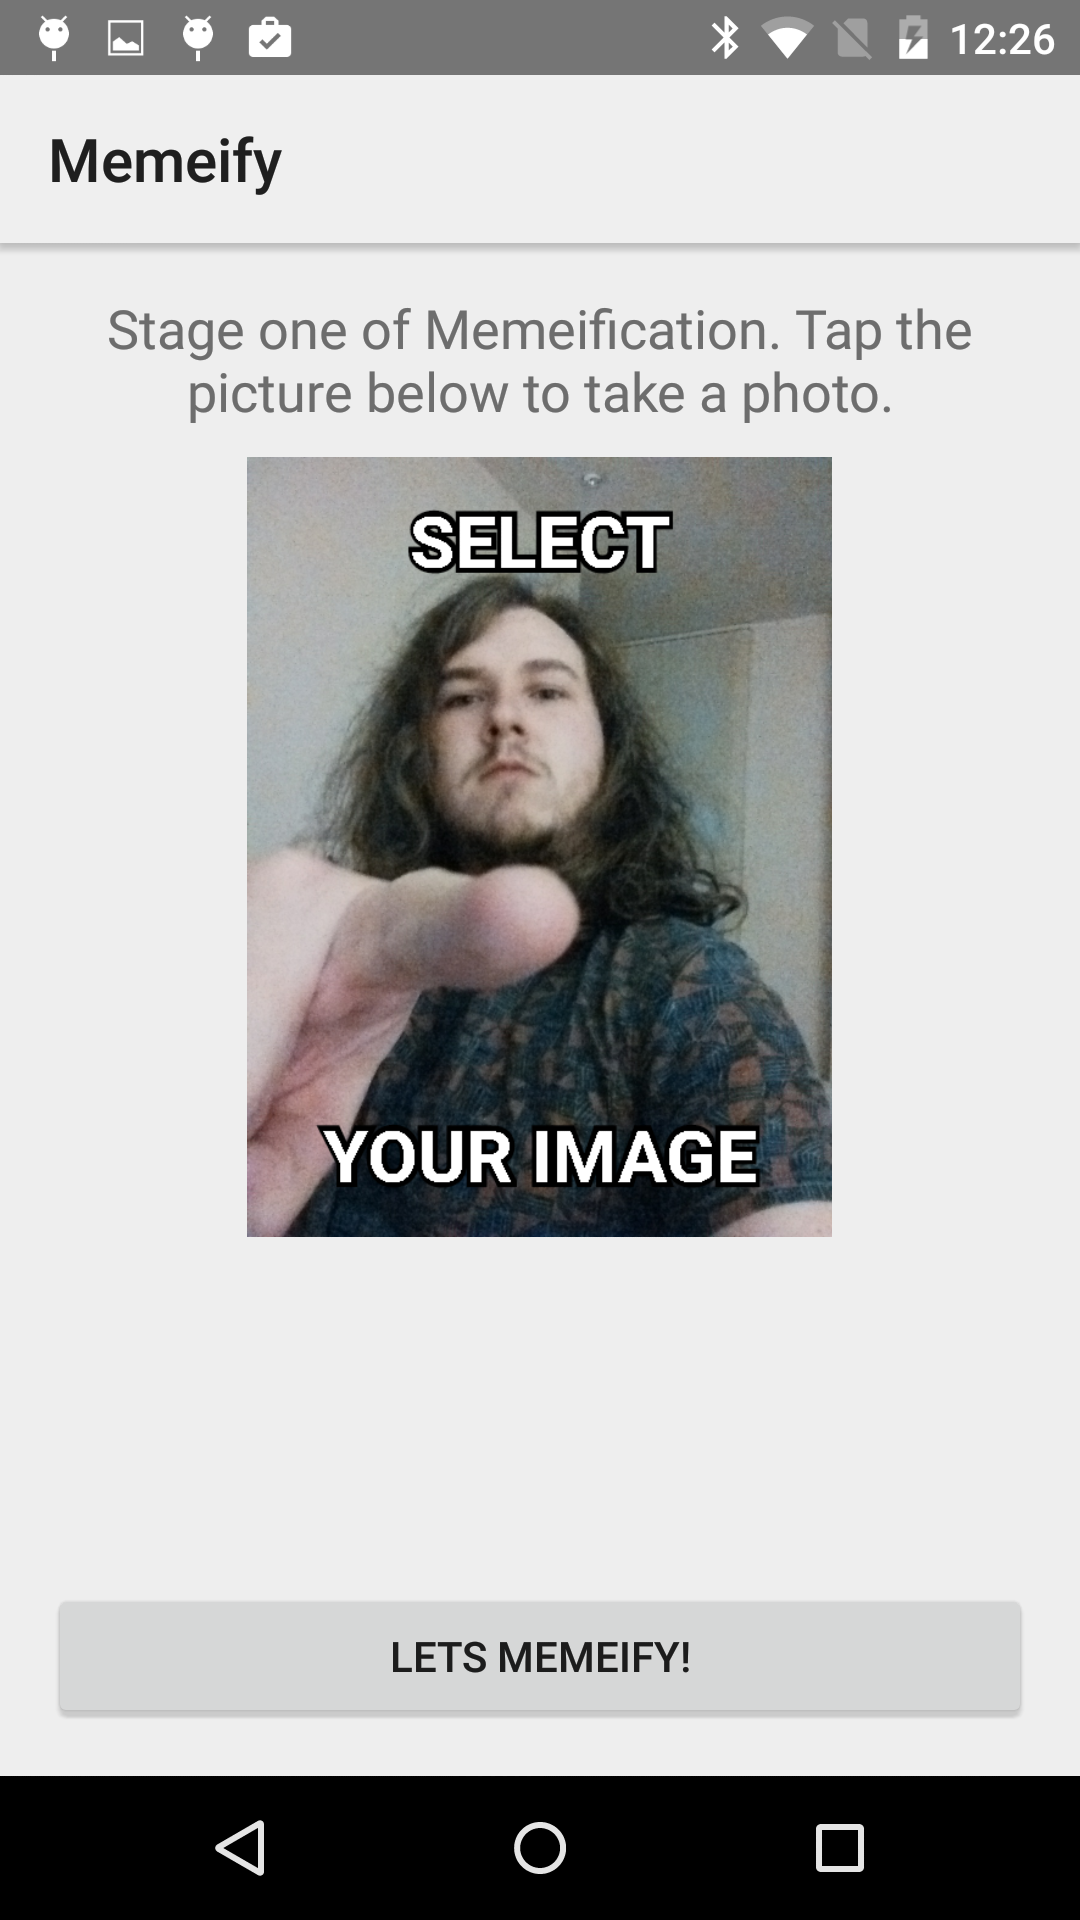
It’s a bit sparse at the moment; if you follow the instructions and tap the
ImageView, nothing happens! You’ll make it more interesting by adding some code.
Open
TakePictureActivity.java and add the following constant to the top of the Class:private static final int TAKE_PHOTO_REQUEST_CODE = 1; |
Note: This tutorial assumes you are familiar with handling
import warnings, and won’t explicitly state the imports to add. As a
quick refresher, if you don’t have on-the-fly imports set up, you can
import by pressing Alt + Enter while your cursor is over a class with an import warning.
Add the following just below onClick(), along with any necessary imports:private void takePictureWithCamera() { // create intent to capture image from camera Intent captureIntent = new Intent(MediaStore.ACTION_IMAGE_CAPTURE); File photoFile = createImageFile(); selectedPhotoPath = Uri.parse(photoFile.getAbsolutePath()); captureIntent.putExtra(android.provider.MediaStore.EXTRA_OUTPUT, Uri.fromFile(photoFile)); startActivityForResult(captureIntent, TAKE_PHOTO_REQUEST_CODE); } |
The first line declares an
Intent object. That’s all well and good, but what exactly is an intent?
An intent is an abstract concept of work or functionality that can be performed by your app sometime in the future. In short, it’s something your app needs to do. The most basic intents are made up of the following:
- Actions: This is what the intent needs to accomplish, such as dialing a telephone number, opening a URL, or editing some data. An action is simply a string constant describing what is being accomplished.
- Data: This is the resource the intent operates on. It is expressed as a Uniform Resource Identifier or
Uriobject in Android — it’s a unique identifier for a particular resource. The type of data required (if any) for the intent changes depending on the action. You wouldn’t want your dial number intent trying to get a phone number from an image! :]

Head back to
takePictureWithCamera() and you’ll see the intent you created uses the ACTION_IMAGE_CAPTURE action. You’ve probably already guessed this intent will take a photo for you, which is just the thing a meme generator needs!The next two lines focus on getting a temporary
File to
store the image in. The starter project handles this for you, but take a
look at the code in the activity if you want to see how this works.Exploring the Extras
The fourth line in your method adds an Extra to your newly created intent.What’s an extra, you say?
Extras are a form of key-value pairs that give your intent additional information to complete its action. Just like humans are more likely to perform better at an activity if they are prepared for it, the same can be said for intents in Android. A good intent is always prepared with the extras it needs!
The types of extras an intent can acknowledge and use change depending on the action; this is similar to the type of data you provide to the action.
A good example is creating an intent with an action of
ACTION_WEB_SEARCH. This action accepts an extra key-value called QUERY,
which is the query string you wish to search for. The key for an extra
is usually a string constant because its name shouldn’t change. Starting
an intent with the above action and associated extra will show the
Google Search page with the results for your query. Look back at the
captureIntent.putExtra() line; EXTRA_OUTPUT specifies where you should save the photo from the camera — in this case, the Uri location of the empty file you created earlier.Putting Your Intent in Motion
You now have a working intent ready to go, along with a full mental model of what a typical intent looks like:
There’s not much left to do here except let the intent fulfill what it was destined to do with the final line of
takePictureWithCamera(). Add the following to the bottom of the method:startActivityForResult(captureIntent, TAKE_PHOTO_REQUEST_CODE); |
captureIntent
specifies: to capture images to a file. Once the activity has fulfilled
the intent’s action, you also want to retrieve the resulting image. TAKE_PHOTO_REQUEST_CODE, the constant you specified earlier, will be used to identify the intent when it returns.Next, add the following to
onClick() within the R.id.picture_imageview switch case, just before the break statement:takePictureWithCamera(); |
takePictureWithCamera() when you tap the ImageView.Time to check the fruits of your labor! Build and run. Tap the
ImageView to invoke the camera:
You can take pictures at this point; you just can’t do anything with them! You’ll handle this in the next section.
Note: If you are running the app in the Emulator you may need to edit the camera settings on your AVD. To do this, click Tools\Android\AVD Manager, and then click the green pencil to the right of the virtual device you want to use. Then click Show Advanced Settings in the bottom left of the window. In the Camera section, ensure all enabled camera dropdowns are set to Emulated.
Implicit Intents
If you’re running the app on a physical device with a number of camera-centric apps, you might have noticed something unexpected: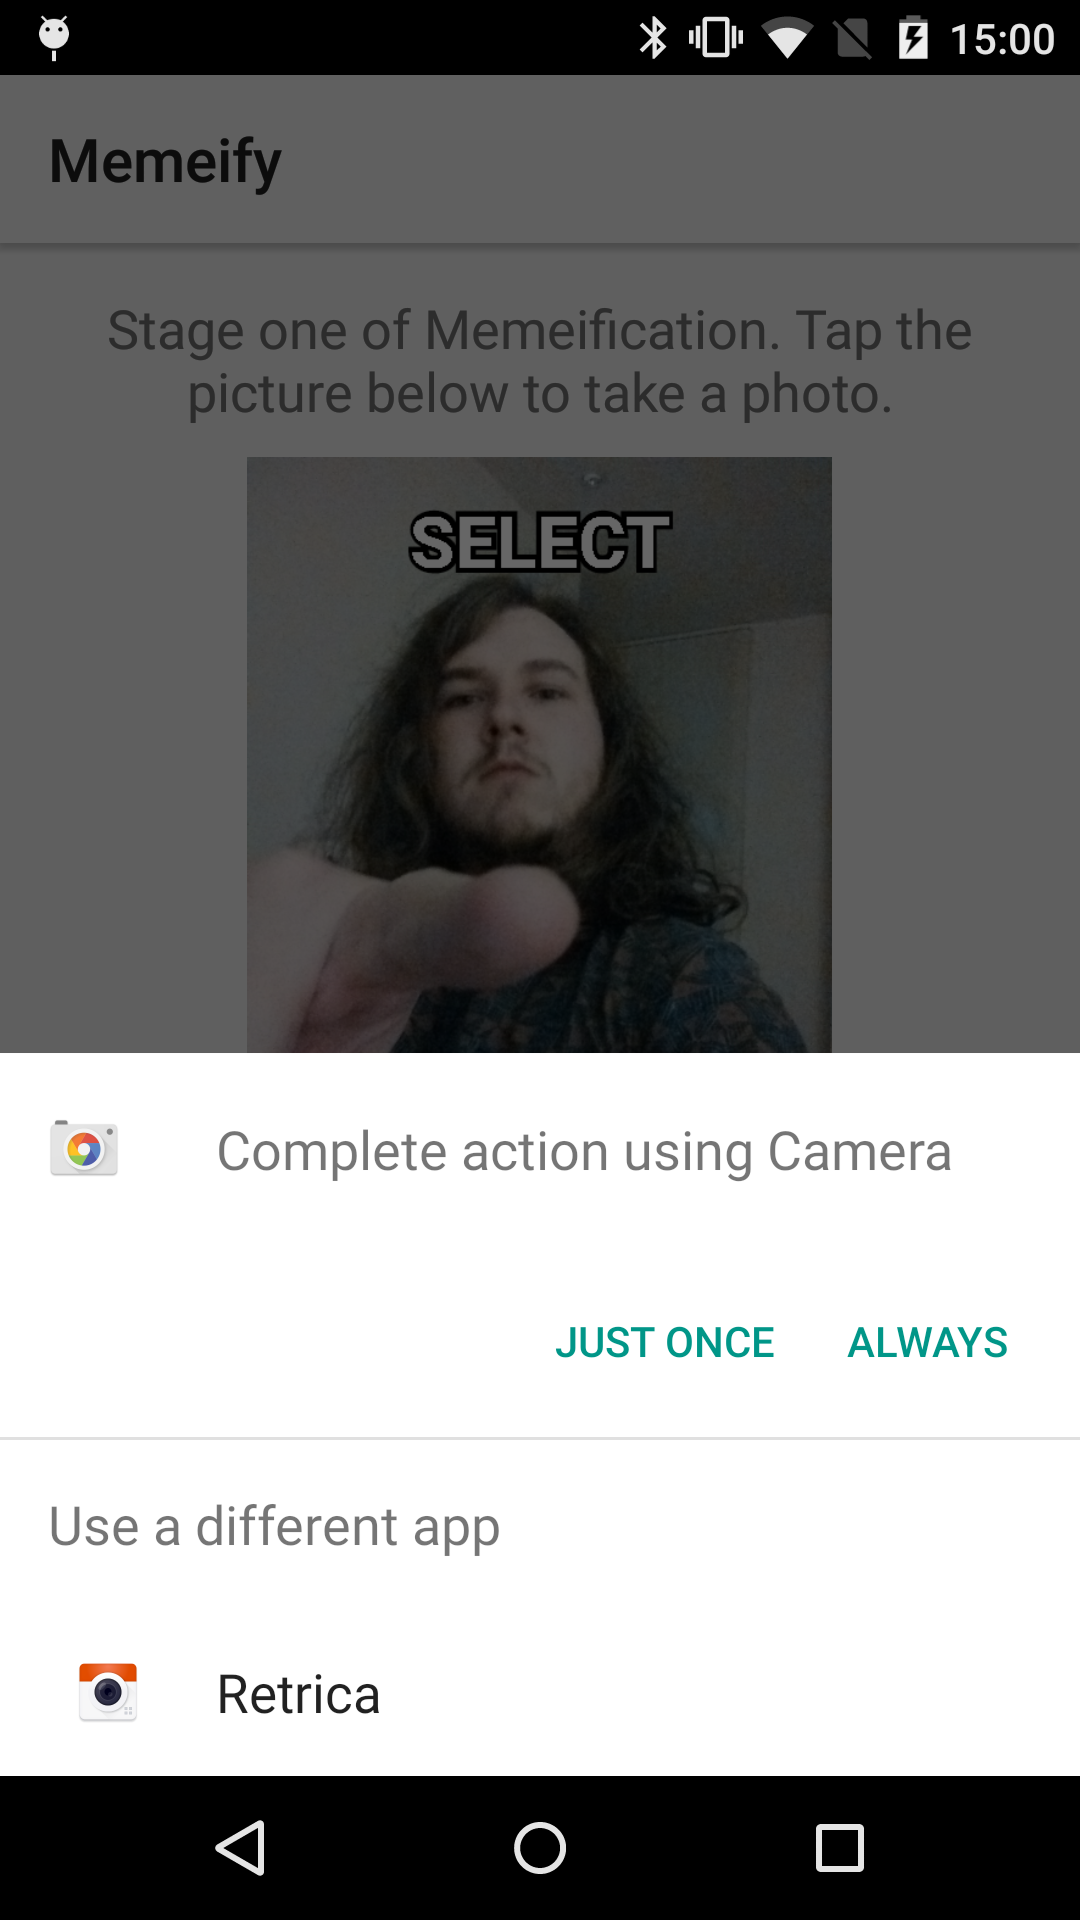
You get prompted to choose which app should handle the intent.
When you create an intent, you can be as explicit or as implicit as you like with what the intent should use to complete its action. ACTION_IMAGE_CAPTURE is a perfect example of an Implicit Intent.
Implicit intents let Android developers give users the power of choice. If they have a particular app they like to use to perform a certain task, would it be so wrong to use some of its features for your own benefit? At the very least, it definitely saves you from reinventing the wheel in your own app.
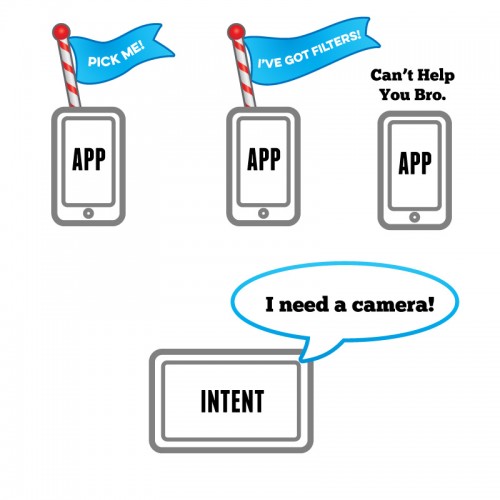
An implicit Intent informs Android that it needs an app to handle the intent’s action when it starts. The Android subsystem then queries every app installed on the device to see which ones can handle that action, and therefore process that intent. If more than one can handle the intent, the user is prompted to choose one:
If only one app responds, the intent automatically takes the user to that app to perform the action. If there are no apps to perform that action, then Android will return nothing, leaving you will a null value that will cause your app to crash! :[
You can prevent this by checking the result to ensure that at least one app responded to the action before attempting to start it, or in this case you can also state the app can only be installed on devices that have a camera by declaring the necessary hardware requirements in AndroidManifest.xml.
The starter project opts for the device restriction method.
So you have an implicit intent set up to take a photo, but you don’t yet have a way to access that photo in your app. Your meme generator isn’t going to get far without photos!
Add the following new method just below
takePictureWithCamera() in TakePictureActivity:@Override protected void onActivityResult(int requestCode, int resultCode, Intent data) { super.onActivityResult(requestCode, resultCode, data); if (requestCode == TAKE_PHOTO_REQUEST_CODE && resultCode == RESULT_OK) { setImageViewWithImage(); } } |
startActivityForResult() in takePictureWithCamera() has finished and returns to your app. The
if statement above matches the returned requestCode against the constant you passed in (TAKE_PHOTO_REQUEST_CODE) to ensure this is your intent. You also check that the resultCode is RESULT_OK; this is simply an Android constant that indicates successful execution. If everything does go well, then you can assume your image is ready for use, so you call
setImageViewWithImage().Time to define that method!
First, at the top of
TakePictureActivity>, add the following Boolean variable:private Boolean pictureTaken = false; |
Next, add the following right after
onActivityResult():private void setImageViewWithImage() { Bitmap pictureBitmap = BitmapResizer.ShrinkBitmap(selectedPhotoPath.toString(), takePictureImageView.getWidth(), takePictureImageView.getHeight()); takePictureImageView.setImageBitmap(pictureBitmap); lookingGoodTextView.setVisibility(View.VISIBLE); pictureTaken = true; } |
BitmapResizer is a helper class bundled with the starter project to make sure the Bitmap
you retrieve from the camera is scaled to the correct size for your
device’s screen. Although the device can scale the image for you,
resizing it in this way is more memory efficient.Build and run. Select your favorite camera app – if prompted – and take another photo.
This time, the photo should scale and show up in the
ImageView:
You’ll also see a
TextView underneath that compliments you on your excellent photography skills. It’s always nice to be polite. :]Explicit Intents
It’s nearly time to build phase two of your meme generator, but first you need to get your picture over to the next activity since you’re a little strapped for screen real estate here.Still in TakePictureActivity, add the following constants to the top of the class, just below the other constants:
private static final String IMAGE_URI_KEY = "IMAGE_URI"; private static final String BITMAP_WIDTH = "BITMAP_WIDTH"; private static final String BITMAP_HEIGHT = "BITMAP_HEIGHT"; |
Now, add the following method to the bottom of
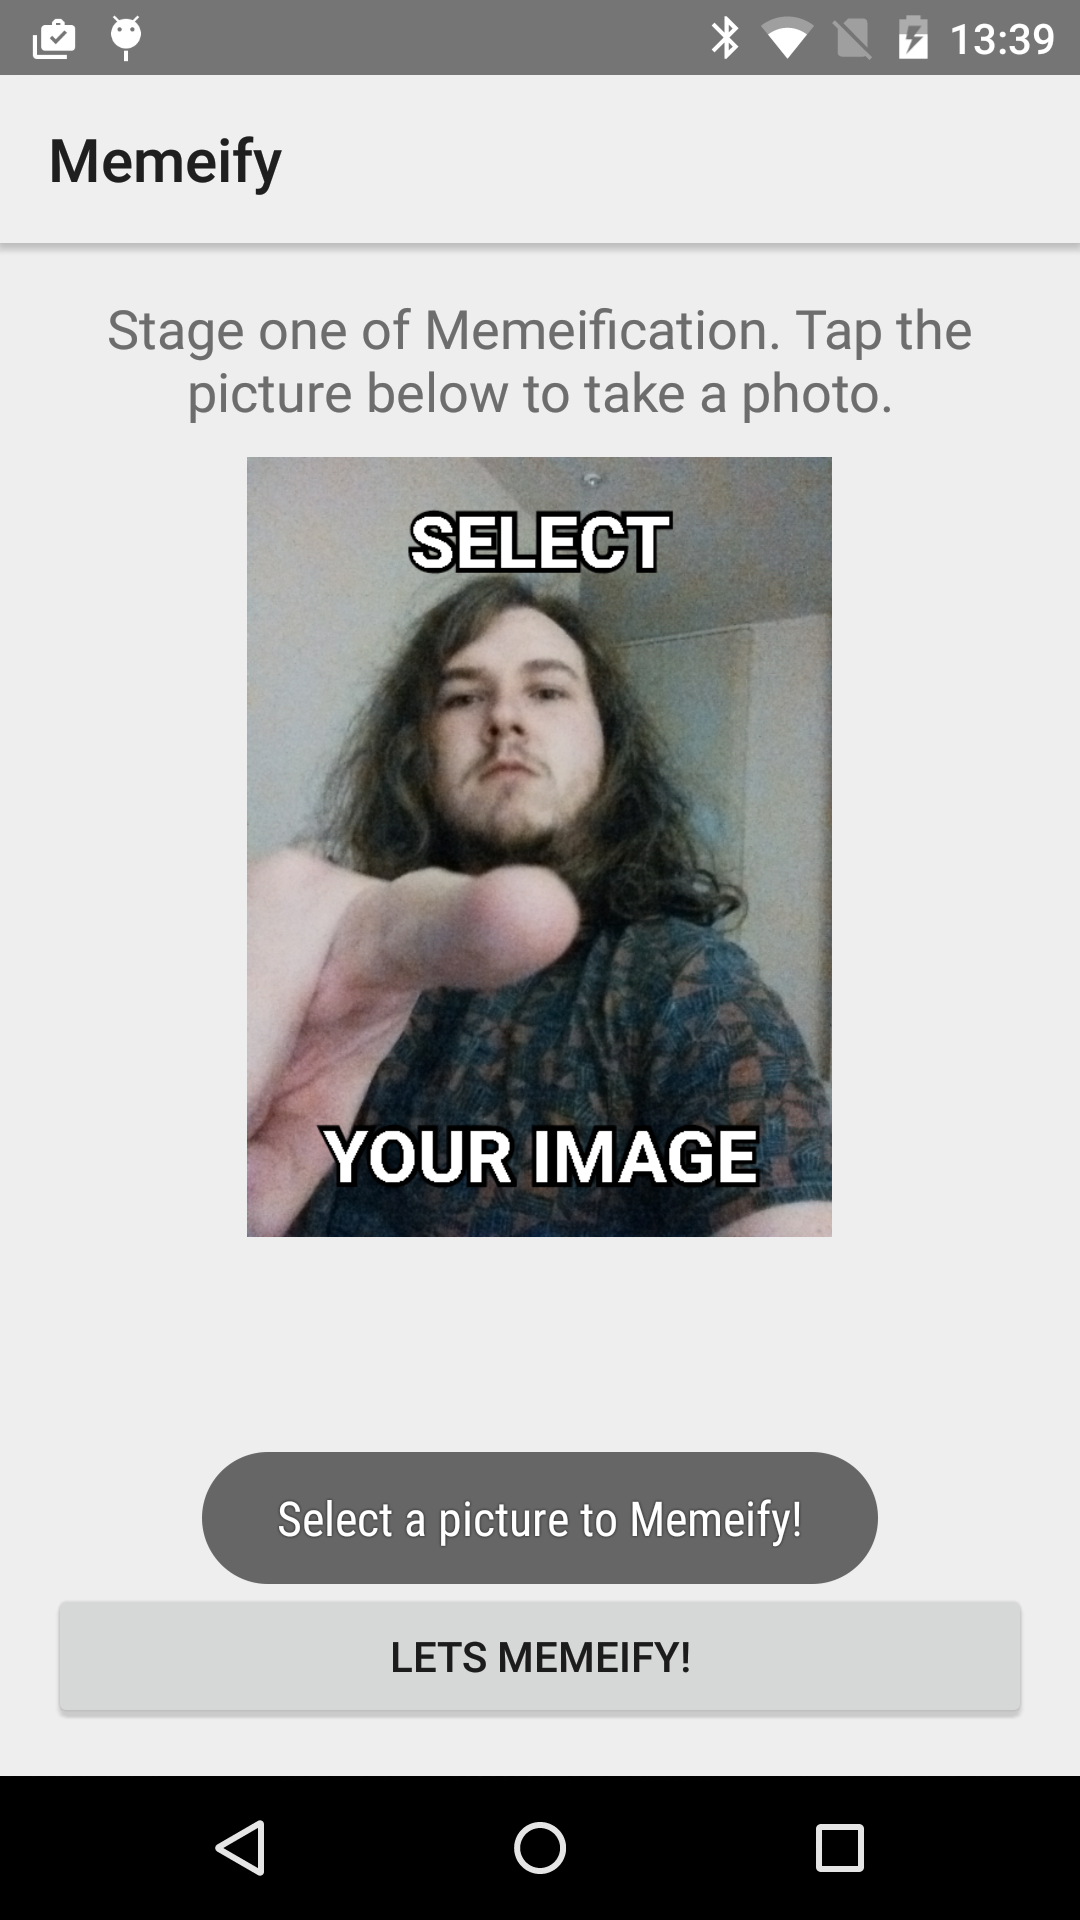
TakePictureActivity, adding any imports as necessary:private void moveToNextScreen() { if (pictureTaken) { Intent nextScreenIntent = new Intent(this, EnterTextActivity.class); nextScreenIntent.putExtra(IMAGE_URI_KEY, selectedPhotoPath); nextScreenIntent.putExtra(BITMAP_WIDTH, takePictureImageView.getWidth()); nextScreenIntent.putExtra(BITMAP_HEIGHT, takePictureImageView.getHeight()); startActivity(nextScreenIntent); } else { Toast.makeText(this, R.string.select_a_picture, Toast.LENGTH_SHORT).show(); } } |
pictureTaken to see if it’s true, which indicates your ImageView has a Bitmap from the camera. If you don’t have a Bitmap, then your activity will briefly show a Toast message telling you to go take a photo. If it is true
then you create an intent for the next activity, and set up the
necessary extras, using the constants you just defined as the keys.Next, add the following method call to the
R.id.enter_text_button case in onClick(), just before the break statement:moveToNextScreen(); |
If you do have a
Bitmap from the camera, then moveToNextScreen() proceeds to create an intent for the text entry activity. It also attaches some Extras to the intent, such as the Uri path for the Bitmap and the height and width of the Bitmap as it’s displayed on the screen. These will come in useful in the next activity.You’ve just created your first Explicit Intent. Compared to implicit intents, explicit intents are a lot more conservative; this is because they describe a specific component that will be created and used when the intent starts. This could be another activity that is a part of your app, or a specific Service in your app, such as one that starts to download a file in the background.
This intent is constructed by providing the
Context from which the intent was created (in this case, this) along with the class the intent needs to run (EnterTextActivity.class).
Since you’ve explicitly stated how the intent gets from A to B, Android
simply complies. The user has no control over how the intent is
completed: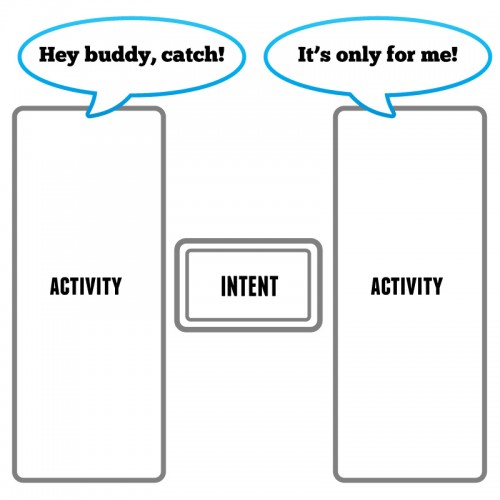
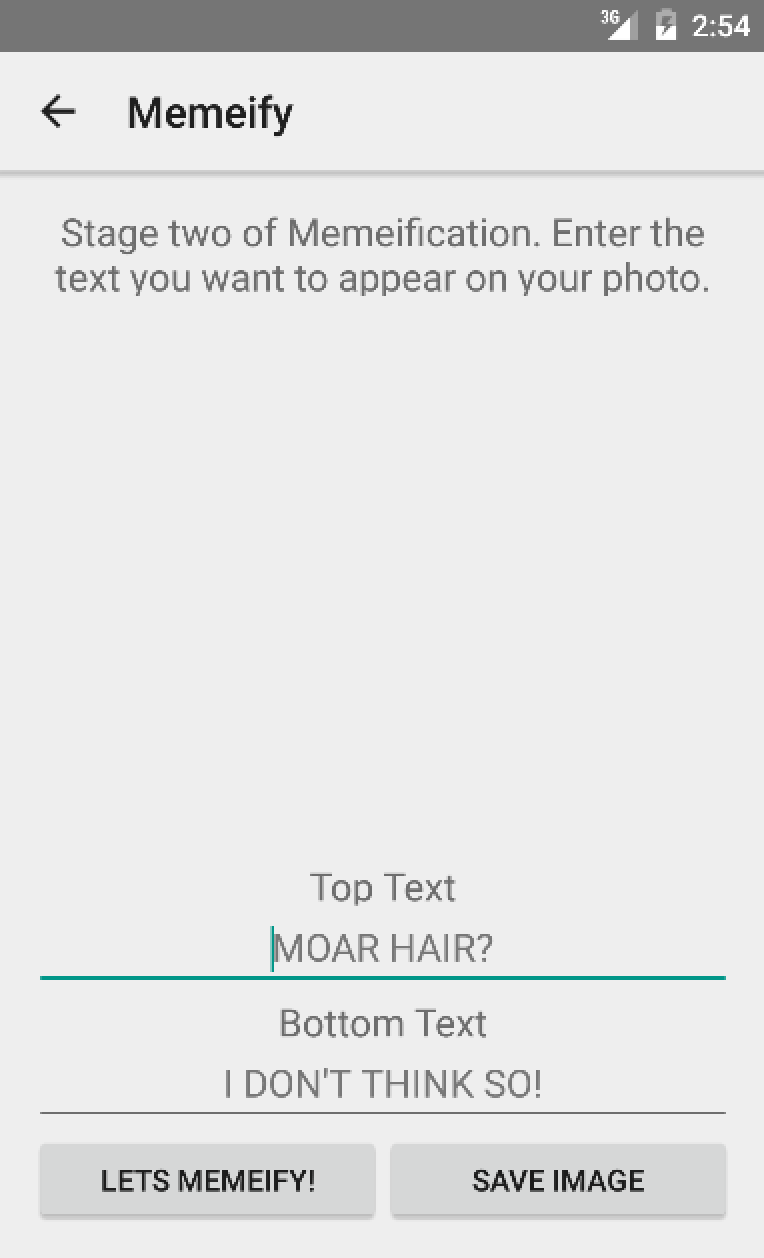
Build and run. Repeat the process of taking a photo, but this time tap LETS MEMEIFY!. Your explicit intent will kick into action and take you to the next activity:
The starter project has already declared this activity in AndroidManifest.xml, so you don’t have to create it yourself.
Memeification Stage Two
Looks like that intent worked a treat. But where are thoseExtras you sent across? Did they take a wrong turn at the last memory buffer? Time to find them and put them to work.Add the following constants to the top of
EnterTextActivity:private static final String IMAGE_URI_KEY = "IMAGE_URI"; private static final String BITMAP_WIDTH = "BITMAP_WIDTH"; private static final String BITMAP_HEIGHT = "BITMAP_HEIGHT"; |
Next, add the following code to the bottom of
onCreate():pictureUri = getIntent().getParcelableExtra(IMAGE_URI_KEY); int bitmapWidth = getIntent().getIntExtra(BITMAP_WIDTH, 100); int bitmapHeight = getIntent().getIntExtra(BITMAP_HEIGHT, 100); Bitmap selectedImageBitmap = BitmapResizer.ShrinkBitmap(pictureUri.toString(), bitmapWidth, bitmapHeight); selectedPicture.setImageBitmap(selectedImageBitmap); |
Uri passed from the previous activity to pictureUri by accessing the Intent via getIntent(). Once you have access to the intent, you can access its Extra values. Since variables and objects come in various forms, you have multiple methods to access them from the intent. To access the
Uri object above, for example, you need to use getParcelableExtra(). Other Extra methods exist for other variables such as strings and other primitive data types.The primitive
getExtra() also allows you to define a
default value. These are used when a value isn’t supplied, or when the
key is missing from the provided Extras.Once you’ve retrieved the necessary
Extras, you then create a Bitmap from the Uri sized by the BITMAP_WIDTH and BITMAP_HEIGHT values you passed. Finally, you set the ImageView image source to the bitmap to display the photo.In addition to displaying the
ImageView, this screen also contains two EditText
views where the user can enter their meme text. The starter project
does the heavy lifting for you by taking the text from those views and
compositing it onto the photo. The only thing you need to do is to flesh out
onClick(). Add the following line to the R.id.write_text_to_image_button switch case:createMeme(); |
You’ve just created your own meme generator! Don’t celebrate too long, though — there are a few bits of polish that you need to add to the app.
Can Haz Save Meme?
It would be nice to save your shiny new meme so you can share it with the world. It’s not going to go viral all on its own! :]Fortunately the starter project does some more heavy lifting for you — you only need to tie things together.
Add the following code to
saveImageToGallery(), just below the try block before the second Toast.makeText() call:// Create intent to request newly created file to be scanned, pass picture uri and broadcast intent Intent mediaScanIntent = new Intent(Intent.ACTION_MEDIA_SCANNER_SCAN_FILE); mediaScanIntent.setData(Uri.fromFile(imageFile)); sendBroadcast(mediaScanIntent); |
ACTION_MEDIA_SCANNER_SCAN_FILE action to ask the Android’s media database to add the image’s Uri. That way, any apps that access the media database can use the image via its Uri. The
ACTION_MEDIA_SCANNER_SCAN_FILE action also requires the intent to have some attached data in the form of a Uri, which comes from from the File object to which you save the Bitmap.Finally, you broadcast the intent across Android so that any interested parties — in this case, the media scanner — can act upon it. Since the media scanner doesn’t have a user interface, you can’t start an activity so you simply broadcast the intent instead.
Now, add the following to
onClick(), inside the R.id.save_image_button case, just before the break statement:saveImageToGallery(viewBitmap); |
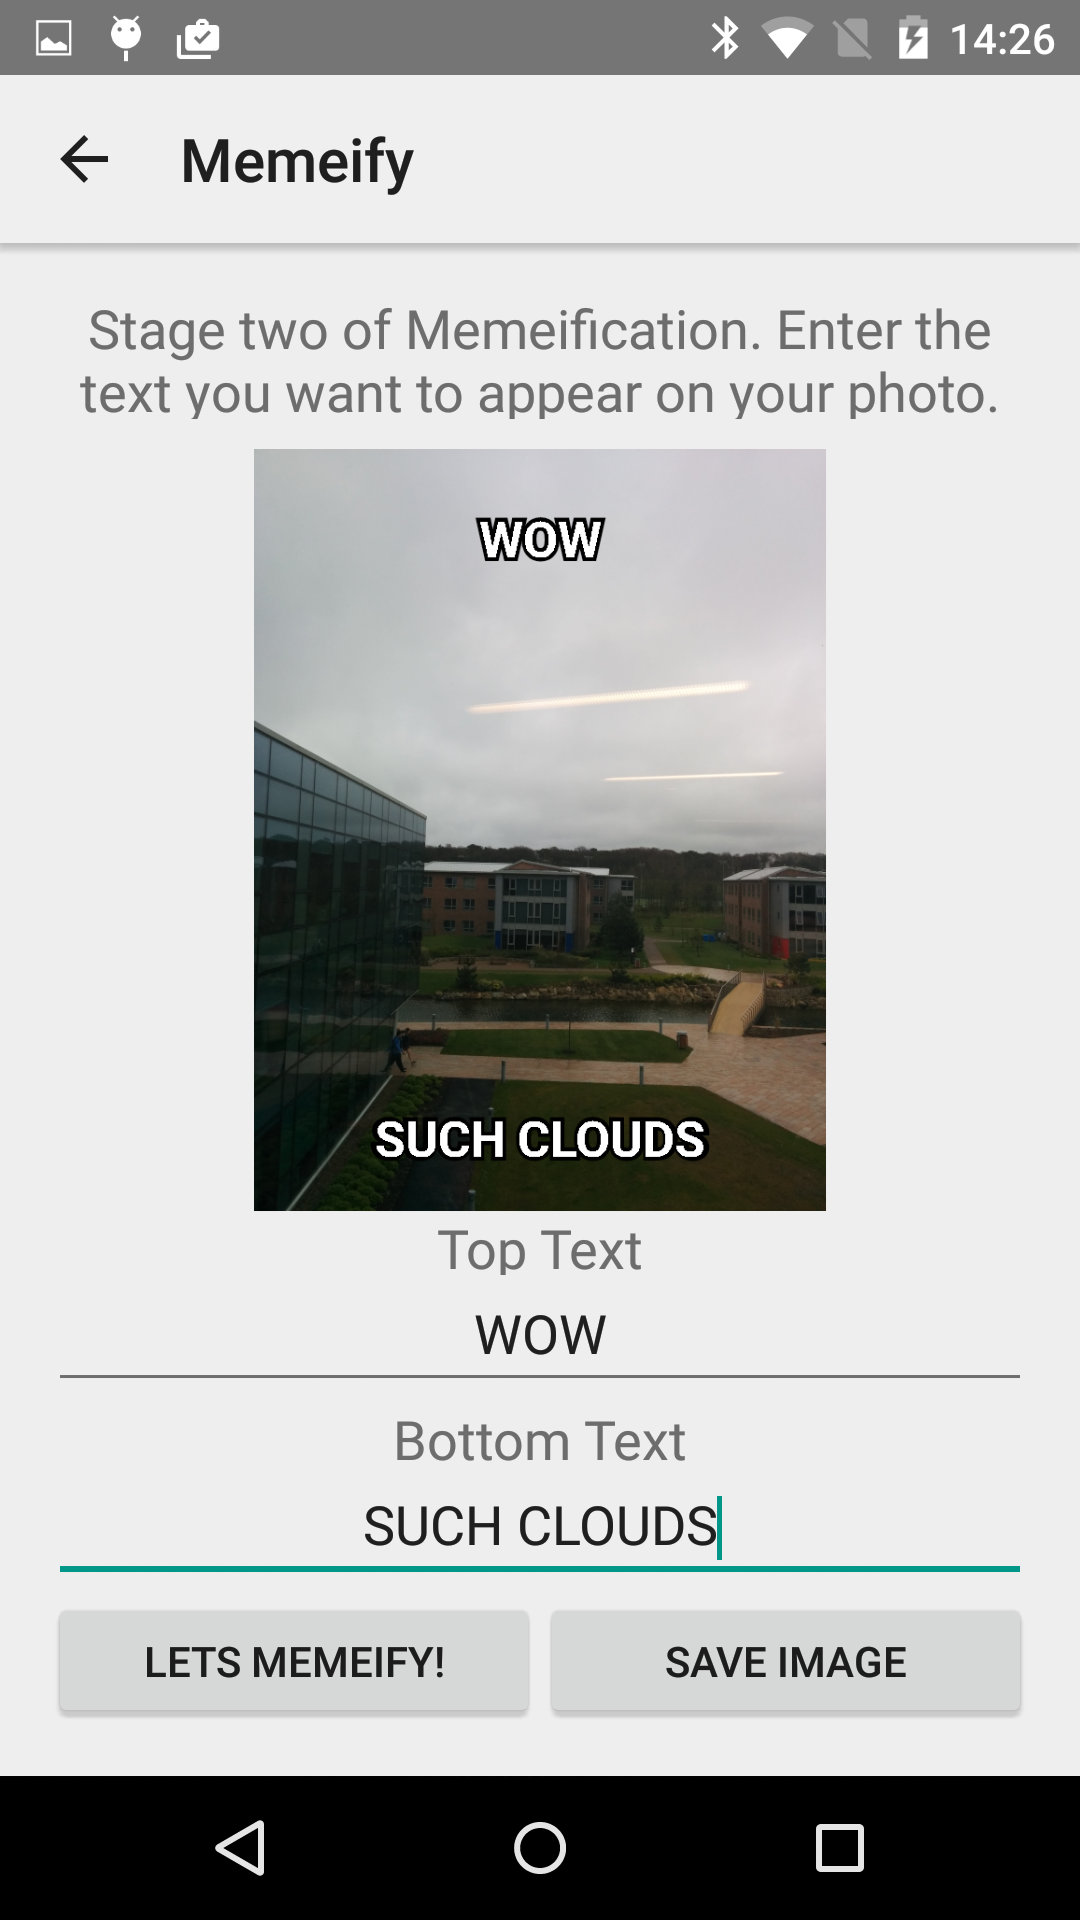
Build and run. Take a photo, add some stunningly brilliant meme text, tap LETS MEMEIFY!, and then tap SAVE IMAGE once your image is ready.
Now close the app and open the Photos app. If you’re using the emulator then open the Gallery app. You should be able to see your new image in all it’s meme-ified glory:

Your memes can now escape the confines of your app and are available for you to post to social media or share in any manner of your choosing. Your meme generator is complete!
Intent Filtering
By now you should have a good idea of how to use the right intent for the right job. However, there’s another side to the story of the faithful intent: how your app knows which intent requests to respond to when an implicit intent is sent.Open AndroidManifest.xml found in app/manifests, and in the first
activity element you should see the following: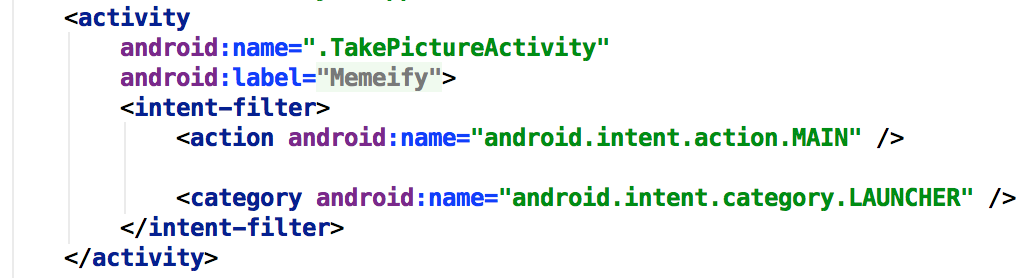
The key here is the
intent-filter element. An Intent Filter enables parts of your app to respond to implicit intents.These behave like a flag when Android tries to satisfy an implicit intent sent by another app. An app can have multiple intent filters, which it waves about wildly, hoping its intent filter satisfies what Android is looking for:
It’s kind of like online dating for intents and apps. :]
To make sure it’s the right app for the intent, the intent filter provides three things:
- Intent Action: The action the app can fulfill; this is similar to the way the camera app fulfills the
ACTION_IMAGE_CAPTUREaction for your app. - Intent Data: The type of data the intent can accept. This ranges from specific file paths, to ports, to MIME types such as images and video. You can set one or more attributes to control how strict or lenient you are with the data from an intent that your app can handle.
- Intent Category: The categories of intents that are accepted; this is an additional way to specify which Actions can respond to an implicit Intent.
Add the following code directly underneath the first intent filter in your AndroidManifest.xml file:
<intent-filter> <action android:name="android.intent.action.SEND" /> <category android:name="android.intent.category.DEFAULT" /> <data android:mimeType="@string/image_mime_type" /> </intent-filter> |
SEND
action from an implicit intent. You use the default category as you
don’t have any special use cases, and you’re looking only for image MIME
data types.Now open TakePictureActivity.java and add the following to the end of the class:
private void checkReceivedIntent() { Intent imageRecievedIntent = getIntent(); String intentAction = imageRecievedIntent.getAction(); String intentType = imageRecievedIntent.getType(); if (Intent.ACTION_SEND.equals(intentAction) && intentType != null) { if (intentType.startsWith(MIME_TYPE_IMAGE)) { Uri contentUri = imageRecievedIntent.getParcelableExtra(Intent.EXTRA_STREAM); selectedPhotoPath = getRealPathFromURI(contentUri); setImageViewWithImage(); } } } |
Intent that started the activity and
retrieve its action and type. Then you compare these to what you
decalred in your intent filter, which is a data source with the MIME
type of an image. If it’s a match, then you get the image’s
Uri, query the Uri for the Bitmap using a helper method included with the starter project, and the finally ask the ImageView to display the retrieved Bitmap.Next add the following method below
onCreate():@Override public void onWindowFocusChanged(boolean hasFocus) { super.onWindowFocusChanged(hasFocus); checkReceivedIntent(); } |
Build and run. Immediately back out to the home screen, and then go to the Photos app, or the Gallery app if you’re using the emulator. Choose any photo, tap the share button, and then select Memeify from the presented options:
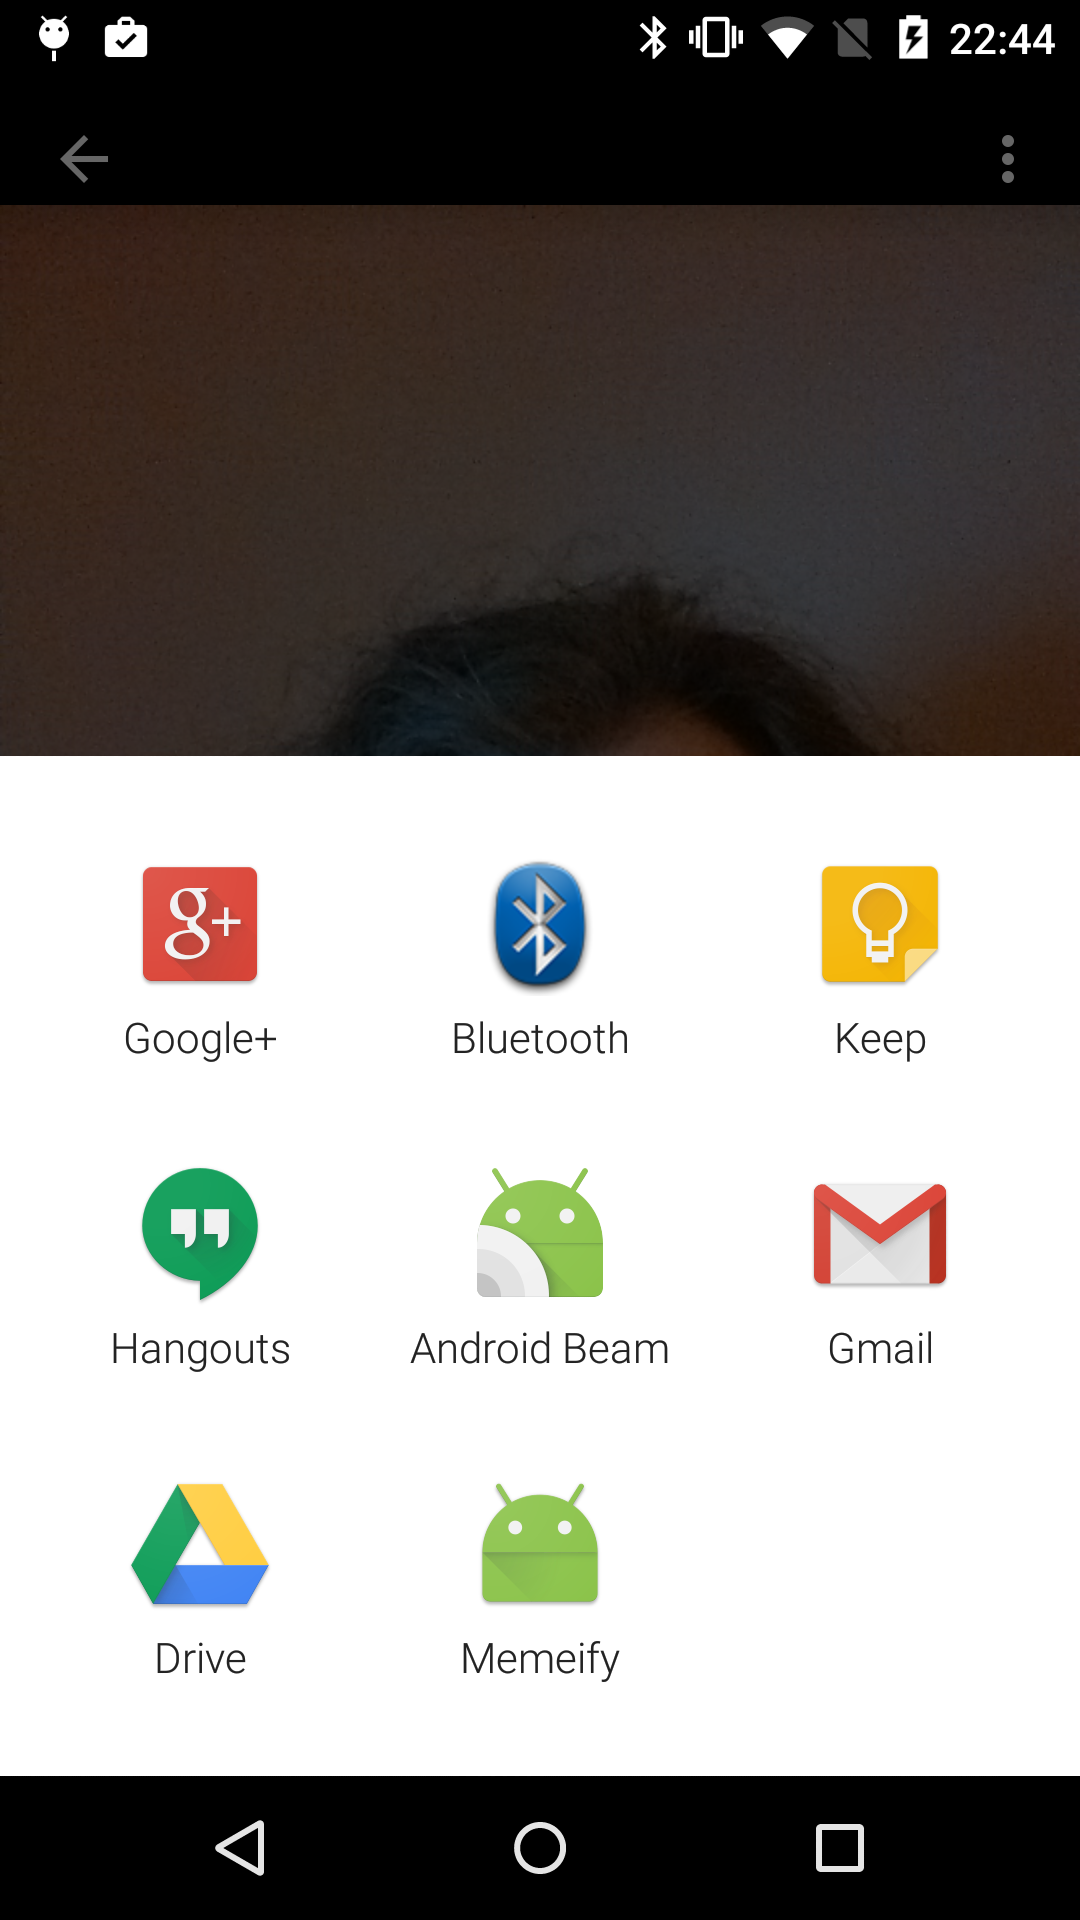
Memeify is ready and waiting to receive your photo! Tap Memeify and see what happens – Memeify launches with the selected photo already displayed in the
ImageView.Your app is now receiving intents like a boss!
Where to Go From Here?
You can download the completed project here.Intents are one of the fundamental building blocks of Android. Much of the openness and intercommunication that Android takes pride in just wouldn’t be possible without them. Learn how to use intents well and you will have made a very powerful ally indeed.
If you want to learn more about intents and intent filters then check out Google’s Intents documentation.
If you have any questions or comments on this tutorial, feel free to post your comments below or in the forum!

0 comments:
Post a Comment
Note: only a member of this blog may post a comment.