On this page you will learn how to quickly and easily install your own Ubuntu Media Server so that you can share all your files with your Windows or Mac operating systems by setting up your Ubuntu as a file server.
If you simply want to simply share your read our this tutorial instead: Ubuntu folders and files on your windows.
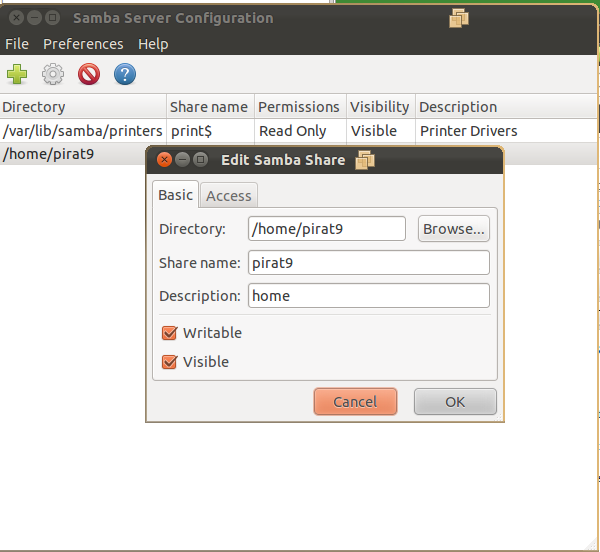
Samba allows Ubuntu to be a file server and accept connections from other PC’s. In this tutorial, we will show you how to install and configure Samba so you can turn your Ubuntu PC into a file server.

First, edit the following key/value pairs in the [global] section of /etc/samba/smb.conf:
The security parameter is farther down in the [global] section, and is commented by default. Also, change EXAMPLE to better match your environment.
Create a new section at the bottom of the file, or uncomment one of the examples, for the directory to be shared:
Finally, restart the samba services to enable the new configuration:
If you simply want to simply share your read our this tutorial instead: Ubuntu folders and files on your windows.
What is Samba?
Samba is a useful service found in most Unix and Linux system that allows you to share file and print services with another computer, particularly a Windows operating system. In Ubuntu, while the File Manager comes with a series of connection protocols to access files from a remote server, unfortunately it doesn’t turn the machine into a file server and accept connection from another PC.Samba allows Ubuntu to be a file server and accept connections from other PC’s. In this tutorial, we will show you how to install and configure Samba so you can turn your Ubuntu PC into a file server.
What Can Samba Do?
- Act as a server for SMB clients: share folders and printers, including PDF pseudo-printers so all the computers in your network may write PDF files
- Act as a domain controller in a Windows network (authenticating users, etc.)
- Do some more complex things, such as using a Windows domain controller to authenticate the users of a Linux/UNIX machine
Install Samba Server on Ubuntu
To install, first open a terminal window and enter the following command:sudo apt-get install samba smbfs

Configure Samba for Ubuntu
Configure Samba
sudo apt-get install samba smbfs
First, edit the following key/value pairs in the [global] section of /etc/samba/smb.conf:
workgroup = EXAMPLE

...

security = user
The security parameter is farther down in the [global] section, and is commented by default. Also, change EXAMPLE to better match your environment.
Create a new section at the bottom of the file, or uncomment one of the examples, for the directory to be shared:
[share]
comment = Ubuntu File Server Share

path = /srv/samba/share

browsable = yes

guest ok = yes

read only = no

create mask = 0755- comment = a short description of the share. Adjust to fit your needs.
- path = the path to the directory to share.
This example uses /srv/samba/sharename because, according to the Filesystem Hierarchy Standard (FHS), /srv is where site-specific data should be served. Technically Samba shares can be placed anywhere on the filesystem as long as the permissions are correct, but adhering to standards is recommended. - browsable: enables Windows clients to browse the shared directory using Windows Explorer.
- guest ok: allows clients to connect to the share without supplying a password.
- read only: determines if the share is read only or if write privileges are granted. Write privileges are allowed only when the value is no, as is seen in this example. If the value is yes, then access to the share is read only.
- create mask: determines the permissions new files will have when created.
sudo mkdir -p /srv/samba/share

sudo chown nobody.nogroup /srv/samba/share/
Finally, restart the samba services to enable the new configuration:
- sudo restart smbd
- sudo restart nmbd


0 comments:
Post a Comment
Note: only a member of this blog may post a comment.